So the time has come, IFTTT, the IF This Then (do) That cloud based automation service, has decided to try and further monetise by charging customers for a pro account if they want more than a basic offering, or more than 3 automations, known as applets.
I used IFTTT for a quite a number of small things, like tweeting every time I like a song on Spotify, or making better use of the shopping list function with Alexa and its integration with todoist. However my main use was to arm and disarm my Blink home camera security system, based on when me and my wife left the house automatically, using Life360 to track where our phones are, arming the camera system when we both leave the house and disarming when one of us returns home.
As a “promotion” IFTTT allowed existing users to set their own price for the pro account, although the minimum was $1.99 a month. So the price wasn’t really a deciding factor of trying to move away from the service, more on principle that IFTTT feel they can get greedy and charge customers when they already make money from the services they use for the integrations. Also having something self built and on-premise, gives me more control and possible more options for automation.
While searching for alternatives I came across Home Assistant which seemed almost too good to be true…
- Opensource Home automation server – tick
- Runs on a Raspberry Pi – tick
- Has prebuilt integrations for blink, life360, Hue etc – tick
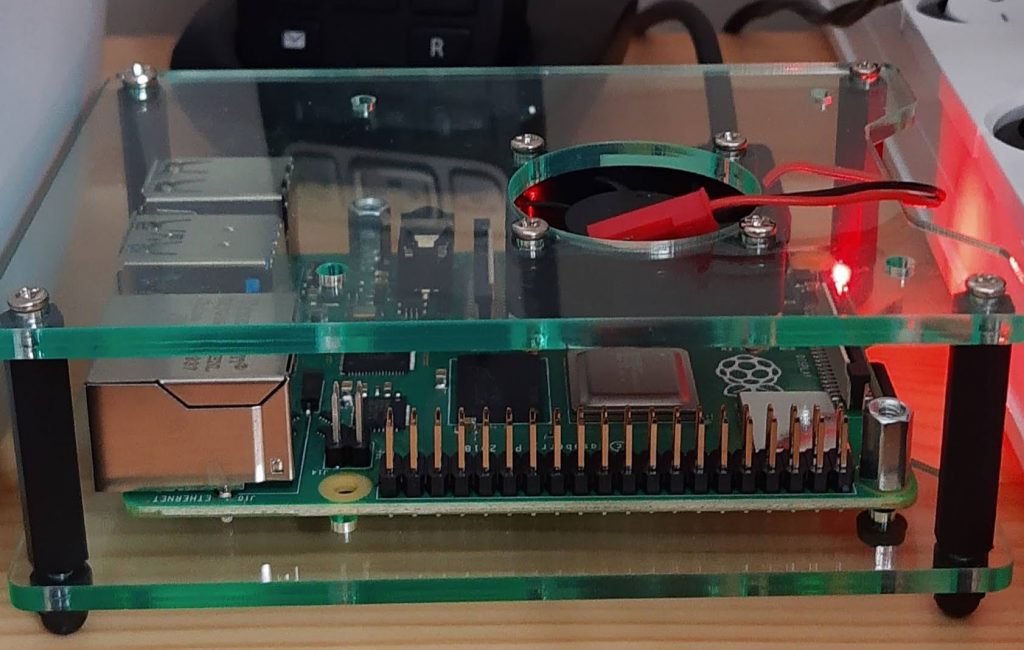
I decided to take the plunge, and removed one of my Raspberry Pi 4, 4GB, Kubernetes nodes from the cluster to act as a dedicated Home Assistant Server. Downloaded an image and imaged a new SD card, first problem it did not boot.
I soon realised that this was the first time imaging using a Chromebook, and while I had downloaded Googles chromebook imaging tool for chromebook repair, The image I had downloaded was gzip’d. I had to first gunzip this using zarchiver and then could compress the .img to .zip to get it too work.
The recommended setup of Home Assistant is to hardware into an ethernet port on your network or router. Unfortunately due to Covid my network is still segregated and my home lab is running out of the loft, therefore I needed to use Wifi. This is where the documentation got a little confusing, as it talks about using a USB stick with a network file in a certain directory. However it was much easier to open up the boot filesystem and create the required CONFIG/network directories and create a my-network file with the following details, obviously changing the UUID, SSID and the password.
[connection]
id=my-network
uuid= (generated from https://www.uuidgenerator.net/)
type=802-11-wireless

[802-11-wireless]
mode=infrastructure
ssid=MY_SSID
# Uncomment below if your SSID is not broadcasted
#hidden=true

[802-11-wireless-security]
auth-alg=open
key-mgmt=wpa-psk
psk=MY_WLAN_SECRET_KEY

[ipv4]
method=auto
I also changed my router settings to ensure that the Home Assistant Raspberry Pi always received the same IP from DHCP when it is rebooted.
Once powered on I went through the setup steps, creating a user account, and doing the initial integrations for the main services I wanted to use, blink, life360 and hue. I was then presented with a dashboard.
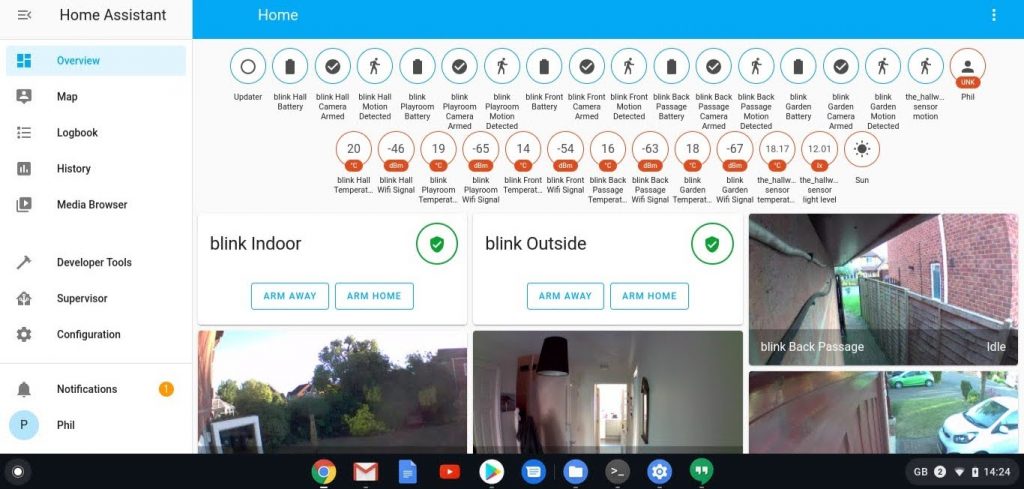
At first quite confusing, as the default dashboard displays everything, all the data from all the camera sensors, battery life, temperature, wifi connection strength etc. After a bit of clicking around and trying to understand the documentation, I sort of got the hang of it or so I thought.
I wanted to implement the same automation I had with IFTTT, after integration with Life360, both me and my wifes phone were shown as device trackers in the entity section. Rather than use the circle feature of Life360 I could create a zone with Home Assistant and use this for the presence detection. So I created a simple automation with both our phones leaving the pre-defined zone as the trigger and then arming both the outside and inside blink sync modules.
This seemed to work to a point, as when we went out the outside sync module armed successfully and disarmed, however the inside module would not arm via an automation, despite being able to arm manually from the dashboard. After a bit more reading a couple of chats with some guys on reddit, I discovered that trying to do something with different sync modules under the same account at the same time was problematic and by introducing a delay could help this, which it did.
The next issue I ran into was that the cameras were arming themselves if only one mobile phone left the zone. Again after some reading, this was down to my misinterpretation of the trigger function. Basically having both phones in the trigger section, would trigger the automation individually, what I wanted to do was trigger, but then use conditions to say have both phones left the zone, if so arm the alarm.
This I guess is my only issue with Home Assistant so far, while I totally get that it is open source and the effort put into it by the code maintainers is fantastic, the documentation could be a little easier to understand for beginners, as its not until you actually start playing and poking around with it that it starts to make sense. However please don’t let that put you off, Home assistant is a great piece of software and the possibilities are endless, I am hoping to do a lot more with it in the future.
My code for arming one of the blink sync modules:
alias: Arm Blink Indoor
  description: ''
  trigger:
  - platform: zone
    entity_id: device_tracker.life360_kim
    zone: zone.home
    event: leave
  - platform: zone
    entity_id: device_tracker.life360_phil_dunn
    zone: zone.home
    event: leave
  condition:
  - condition: zone
    entity_id: device_tracker.life360_kim
    zone: zone.home
    event: leave
  - condition: and
    conditions:
    - condition: zone
      entity_id: device_tracker.life360_phil_dunn
      zone: zone.home
      event: leave
  action:
  - delay: 00:03:00
  - service: alarm_control_panel.alarm_arm_away
    entity_id: alarm_control_panel.blink_indoor
  mode: single
And disarming…
alias: Arm Blink Indoor
  description: ''
  trigger:
  - platform: zone
    entity_id: device_tracker.life360_kim
    zone: zone.home
    event: leave
  - platform: zone
    entity_id: device_tracker.life360_phil_dunn
    zone: zone.home
    event: leave
  condition:
  - condition: zone
    entity_id: device_tracker.life360_kim
    zone: zone.home
    event: leave
  - condition: and
    conditions:
    - condition: zone
      entity_id: device_tracker.life360_phil_dunn
      zone: zone.home
      event: leave
  action:
  - delay: 00:03:00
  - service: alarm_control_panel.alarm_arm_away
    entity_id: alarm_control_panel.blink_indoor
  mode: single